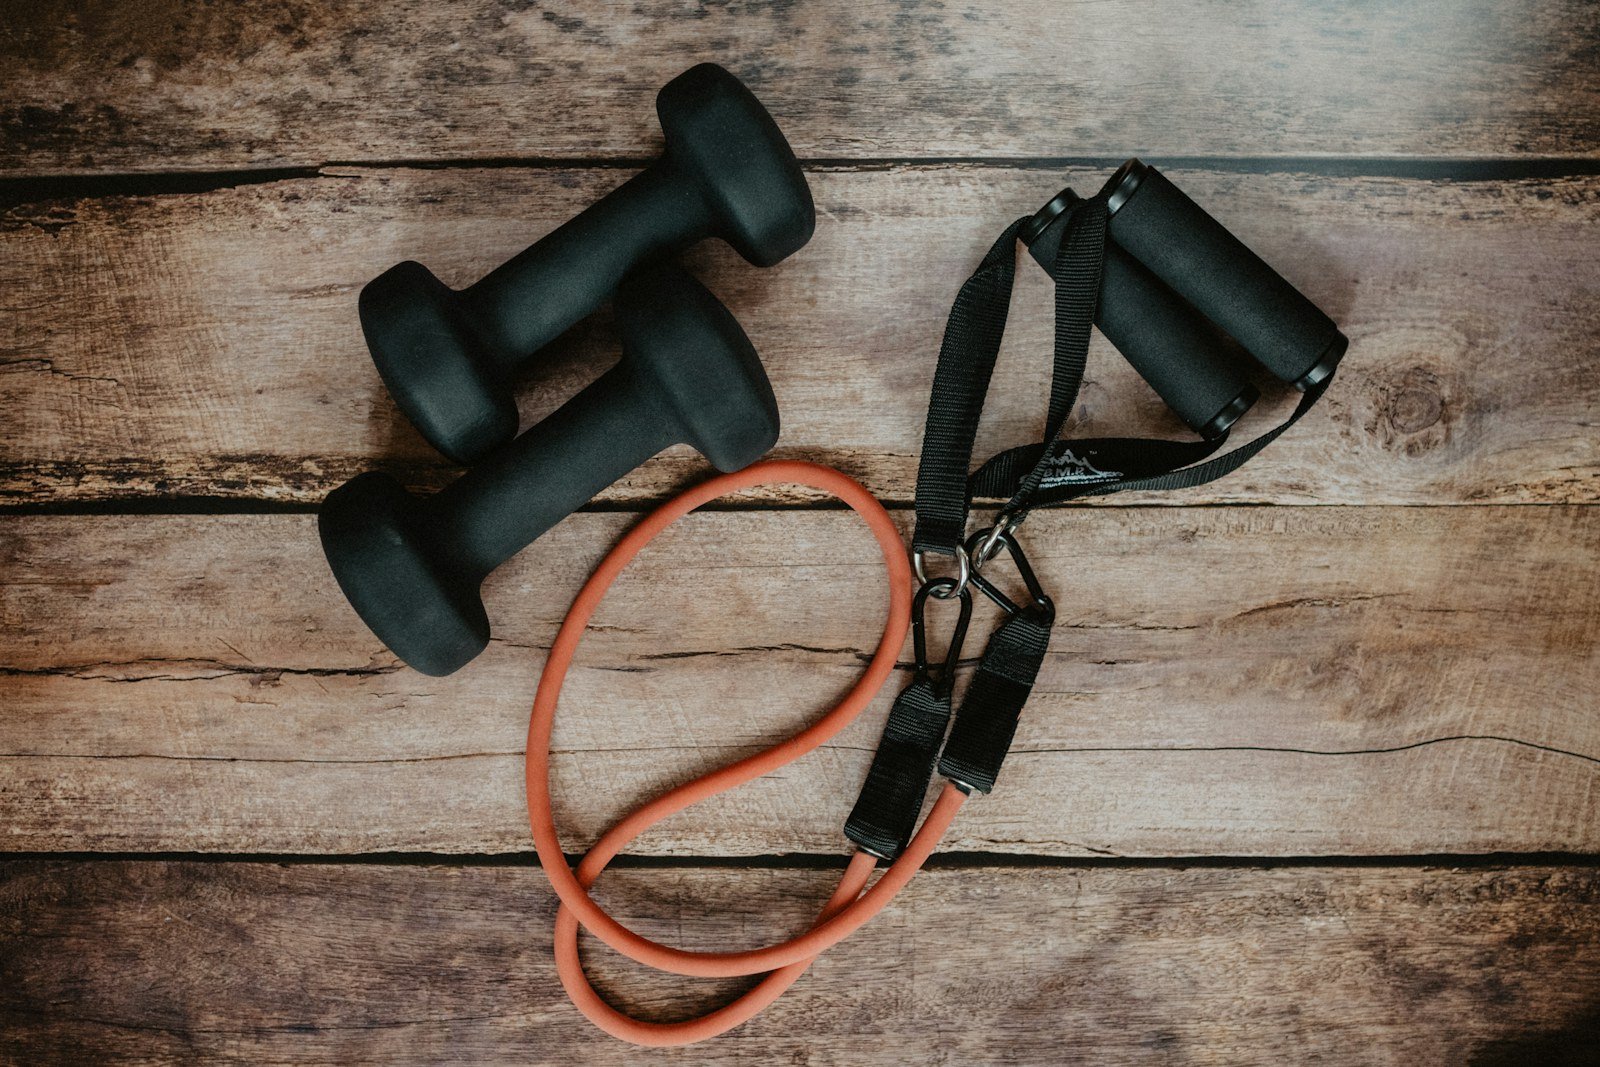
Resistance bands can be useful during recovery because they make light, controlled exercise easy to scale. They do not passively speed healing, and using a band does not automatically make an exercise “rehab.”
What bands actually provide
Elastic resistance increases as the band stretches. That can make some movements feel easier at the start and harder near the end. Bands are portable, inexpensive, and available in small load increments, which helps when returning to regular training.
Research indicates that elastic resistance can improve strength and may produce strength gains comparable to conventional resistance when programs are appropriately matched. That evidence supports bands as training tools—not as a cure for injury.
When bands fit active recovery
- Gentle movement on an easy day
- Low-load shoulder or hip exercises
- Gradual return after time away from training
- Warm-up activation before larger movements
- Maintaining exercise options while travelling
If you are recovering from a diagnosed injury or surgery, the exercise, direction, and dose should follow your rehabilitation plan.
A 12-minute band recovery circuit
Use the lightest band that provides clear but easy tension. Complete two relaxed rounds.
- Band row — 10 repetitions: keep shoulders relaxed and pause briefly.
- Band external rotation — 8 per side: elbow close to the body; use very light resistance.
- Band pull-apart — 8 repetitions: stop before the shoulders roll forward.
- Lateral band walk — 8 steps each way: use a band above the knees for an easier version.
- Standing hip extension — 8 per side: hold support and avoid arching the back.
- Pallof press — 8 per side: resist rotation without holding your breath.
The circuit should feel like movement practice, not conditioning.
How to choose resistance
Start lighter than you think. You should be able to perform every repetition at the same speed and range, with at least four or five repetitions left in reserve. If the band snaps you back, changes your posture, or makes the final repetitions slow, reduce resistance.
Progression
- Increase repetitions within a comfortable range.
- Add a brief pause in the hardest position.
- Add a second or third set.
- Move to a slightly stronger band.
- Transition to dumbbells, cables, or bodyweight movements when appropriate.
Change one variable at a time and monitor symptoms later that day and the next morning.
Band safety
- Inspect for cracks, discoloration, or tears before every session.
- Secure the band to a stable anchor and keep it away from sharp edges.
- Do not pull a damaged band toward your face.
- Control the return; do not let the band recoil.
- Stop for sharp pain, numbness, instability, or worsening symptoms.
What bands cannot tell you
A band cannot determine whether pain comes from muscle, tendon, joint, or nerve. It cannot establish when a fracture, dislocation, or post-operative tissue is ready for resistance. If function is not improving or symptoms repeatedly return, seek a qualified assessment.
Sources and further reading
- Elastic versus conventional resistance training: systematic review and meta-analysis
- Elastic-band training in older adults: systematic review
- World Health Organization: physical activity
This is general exercise information and not an injury-specific rehabilitation program.