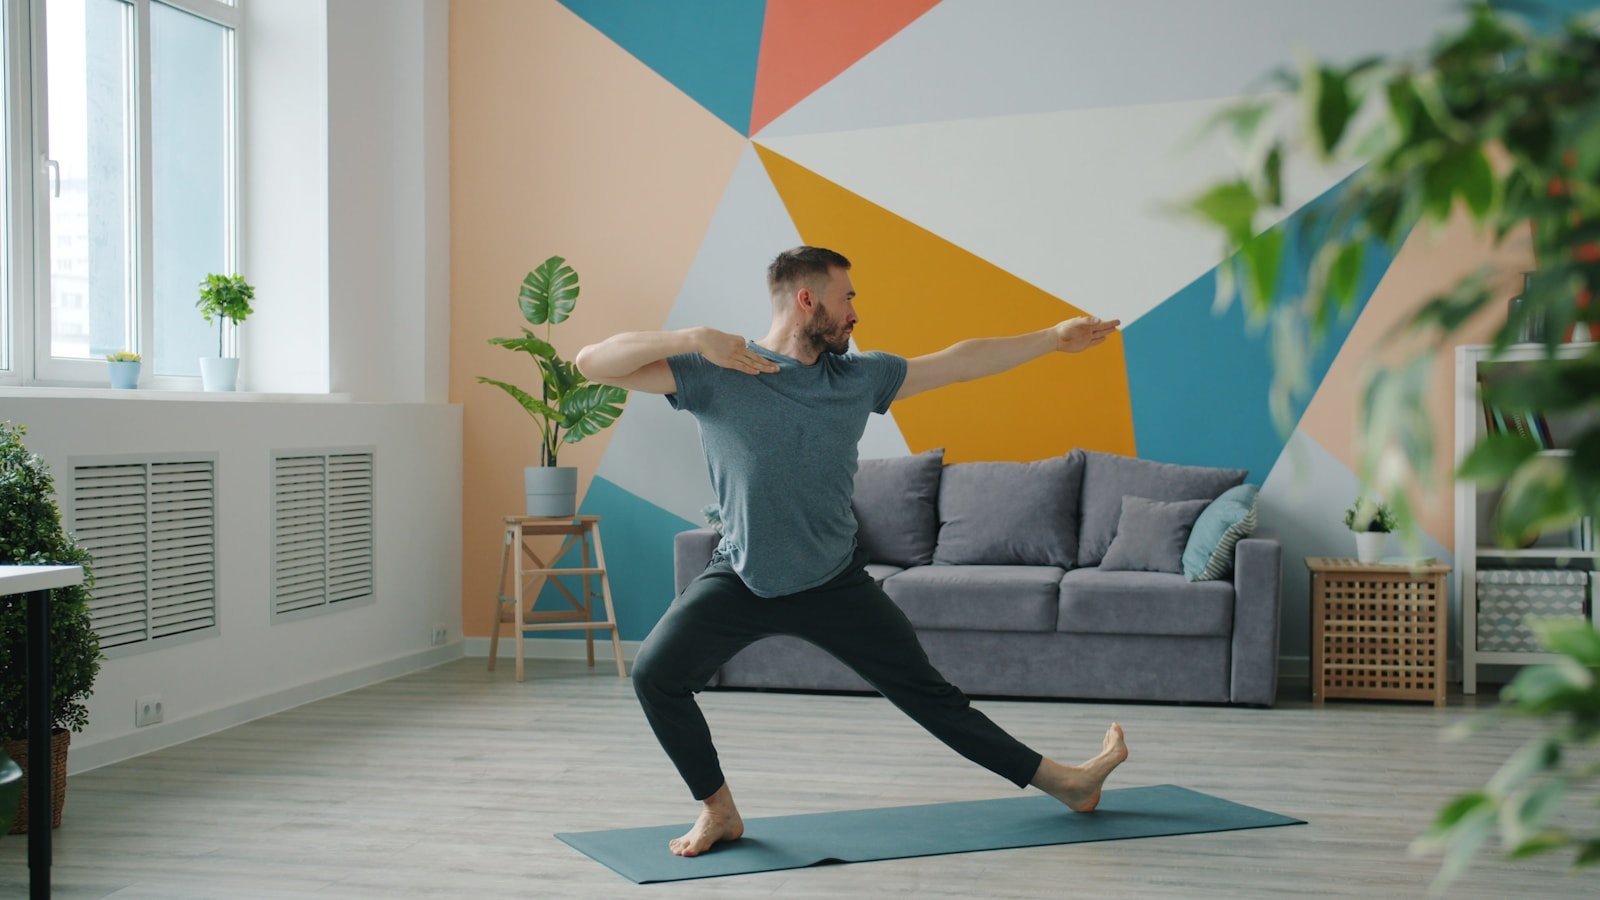
Mobility training at home does not require a collection of complicated drills. A small routine that combines movement, usable range, and strength is enough to improve how common positions feel.
What this routine trains
The sequence covers four areas that commonly matter in squatting, reaching overhead, running, lifting, and daily movement: ankles, hips, thoracic spine, and shoulders. It does not attempt to “fix” posture or force every body into identical positions.
The 20-minute routine
1. Warm up — 3 minutes
March briskly, walk stairs, or perform an easy cycle. The goal is simply to feel warmer and move more freely.
2. Knee-to-wall ankle rocks — 2 sets of 8 per side
Keep the heel down and guide the knee over the middle toes. Start close to the wall, then increase distance while maintaining control.
3. 90/90 hip switches — 2 sets of 6 per side
Sit with knees bent and rotate them side to side. Use your hands behind you for support. Make the range smaller if the knees feel pressured.
4. Supported deep squat — 3 holds of 20 seconds
Hold a doorframe or sturdy support and descend only as far as you can keep the feet grounded. Shift gently from side to side. Use a chair squat instead if the deep position is uncomfortable.
5. Half-kneeling hip flexor rocks — 8 per side
Pad the rear knee, lightly tuck the pelvis, and glide forward a small distance. You should feel the front of the rear hip, not compression in the low back.
6. Open-book rotation — 6 per side
Lie on your side with hips and knees bent. Rotate the top arm and chest open while keeping the knees together. Follow the hand with your eyes.
7. Wall slides — 2 sets of 8
Place forearms on the wall and slide them upward without shrugging. Keep the ribs controlled. Step farther from the wall if needed.
8. End-range strength — 2 rounds
- 6 slow split squats per side, holding a chair
- 8 calf raises with a two-second pause at the top
- 8 prone or standing Y-raises with no weight
How to make it easier
- Use a chair or wall for balance.
- Reduce range until the movement is smooth.
- Perform one set instead of two.
- Replace kneeling positions with standing alternatives.
How to progress
After two or three weeks, add a pause at the edge of your comfortable range, slow the lowering phase, or hold a light load. Progress control before chasing a deeper position.
For a longer-term plan, see the complete mobility training blueprint.
How often?
Two to four sessions per week is enough for many people. You can also use a shortened version before training: choose the two areas most relevant to the day’s workout and follow them with specific warm-up sets.
When mobility drills are not the answer
Stop and seek appropriate assessment for new trauma, severe or worsening pain, swelling, unexplained weakness, numbness, or loss of normal function. Repeatedly stretching into symptoms is not a substitute for diagnosis.
Sources and further reading
- Strength training and stretching for range of motion
- Full versus partial range resistance training
- World Health Organization: physical activity guidance
General exercise information only. Modify or omit any movement that causes pain.