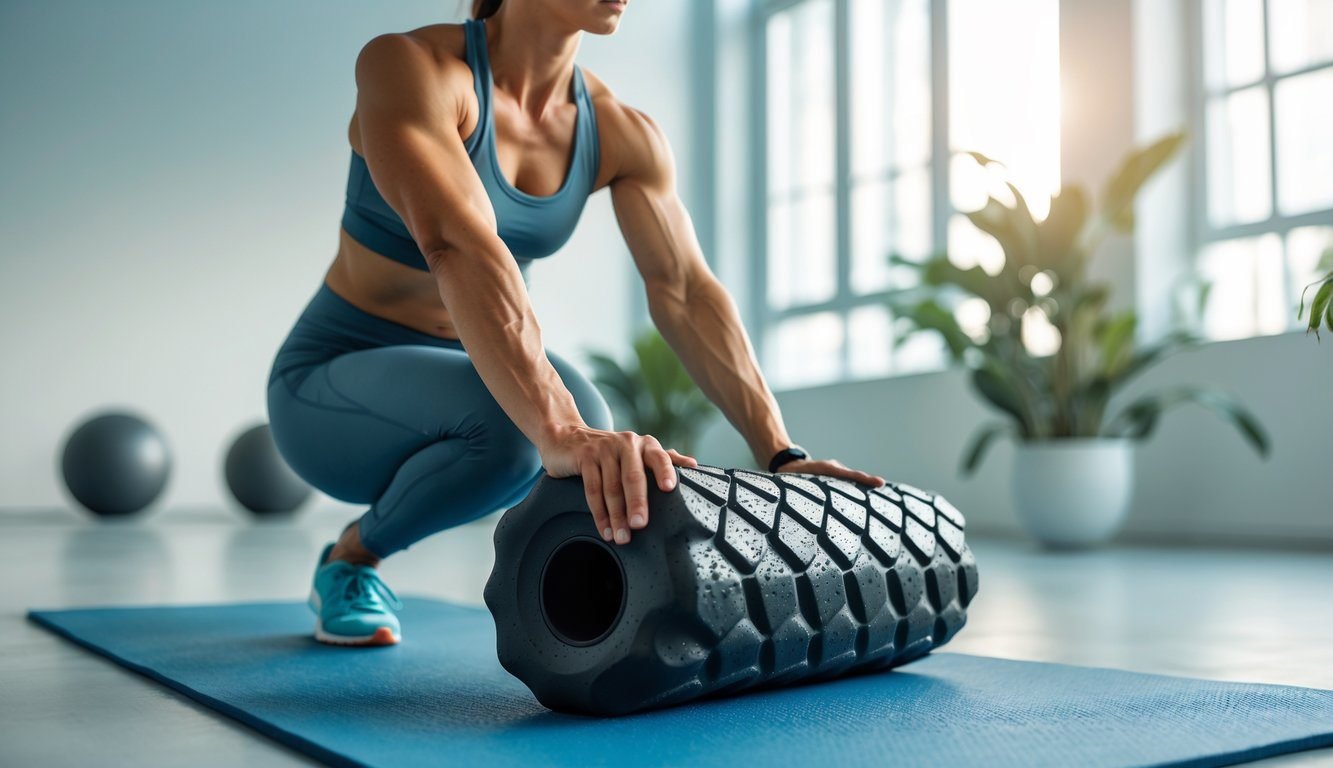
Foam rolling has become a go-to recovery tool for athletes and fitness enthusiasts who want to reduce muscle tension and improve their performance. This simple self-massage technique uses a cylindrical tool to apply pressure to tight muscles and connective tissue throughout the body.
Proper foam rolling techniques can help increase blood flow, reduce muscle soreness, and improve flexibility when done correctly. The key lies in understanding how to position the roller, apply the right amount of pressure, and target specific muscle groups effectively.
Many people make common mistakes that reduce the benefits of foam rolling or even cause discomfort. Learning the correct techniques helps maximize recovery time while preventing injury and getting the most value from this affordable fitness tool.
Key Takeaways
- Foam rolling works by applying pressure to muscles and fascia to improve blood flow and reduce tension
- Proper technique involves slow movements, holding tender spots for 30 seconds, and avoiding rolling over joints
- Regular foam rolling can enhance flexibility, speed up recovery, and help prevent muscle tightness when integrated into a fitness routine
Understanding Foam Rolling
Foam rolling acts as a form of self-massage that targets tight muscles and connective tissue through applied pressure. This technique mimics professional massage therapy while offering muscle recovery benefits and improved flexibility.
What Is Foam Rolling?
Foam rolling is a self-myofascial release (SMR) technique that uses a cylindrical foam tool to apply pressure to muscles. The practice involves rolling the body over the foam roller to target specific muscle groups.
Athletes and fitness enthusiasts use foam rollers to reduce muscle tension. The technique works by applying controlled pressure to tight areas in muscles and surrounding tissue.
Most foam rollers are made from dense foam materials. They come in different sizes and textures to provide varying levels of pressure and intensity.
The process typically involves slow, controlled movements. Users roll back and forth over targeted muscle groups for 1-2 minutes per area.
This technique serves as an accessible alternative to professional massage therapy. It allows people to perform muscle maintenance at home or in the gym.
How Foam Rolling Works
Foam rolling works by applying mechanical pressure to muscles and fascia. When pressure is applied, fluid gets displaced from the targeted area, similar to squeezing a water balloon.
Once the pressure is removed, fresh blood and nutrients rush back into the muscle tissue. This process helps improve circulation and delivers oxygen to the muscles.
The pressure also helps break up adhesions in muscle tissue. These adhesions can form from overuse, injury, or lack of movement.
Key mechanisms include:
-
Increased blood flow to targeted areas
-
Breakdown of muscle adhesions and scar tissue
-
Stimulation of pressure receptors that reduce pain signals
-
Improved tissue flexibility and range of motion
The technique works best when combined with slow, deliberate movements. Rolling too quickly reduces the effectiveness of the pressure application.
Self-Myofascial Release Explained
Self-myofascial release refers to the process of releasing tension in the fascia through self-applied pressure. Fascia is the thin tissue that wraps around muscles and organs throughout the body.
This connective tissue can become tight or restricted due to exercise, injury, or daily activities. When fascia becomes restricted, it can limit movement and cause discomfort.
SMR techniques like foam rolling help restore normal tissue function. The applied pressure helps trigger points release and reduces muscle tension.
Benefits of SMR include:
- Reduced muscle soreness after exercise
- Improved flexibility and range of motion
- Better muscle recovery between workouts
The technique requires consistent pressure applied to specific areas. Users should focus on tender spots that rate 6-8 on a pain scale of 1-10 for maximum effectiveness.
Benefits of Foam Rolling
Foam rolling delivers four major benefits that make it essential for anyone serious about fitness and recovery. These benefits include better flexibility and movement, faster muscle recovery, less soreness after workouts, and protection from injuries.
Improved Flexibility and Range of Motion
Foam rolling directly targets tight fascia and muscle tissue to increase flexibility. The pressure breaks up adhesions in the connective tissue that surrounds muscles.
This process allows muscles to move more freely. Regular foam rolling increases ROM in key areas:
• Hip flexors and glutes
• Shoulders and upper back
• Hamstrings and calves
Research shows foam rolling can improve range of motion by up to 10% when done consistently. Athletes see the biggest gains in flexibility when they roll before and after workouts.
The technique works by applying pressure to trigger points. These are tight spots in muscles that limit movement.
Rolling these areas for 30-60 seconds helps release tension. People who sit at desks all day benefit greatly from improved flexibility.
Tight hip flexors and rounded shoulders respond well to targeted foam rolling.
Enhanced Muscle Recovery
Foam rolling speeds up muscle recovery by increasing blood flow to worked muscles. Better circulation delivers more oxygen and nutrients to damaged muscle fibers.
This process helps muscles repair faster. The technique also helps remove waste products from muscles.
Lactic acid and other metabolic waste can slow recovery. Rolling pushes these substances out of muscle tissue.
Key recovery benefits include:
• Faster nutrient delivery to muscles
• Improved waste product removal
• Better circulation throughout the body
Athletes who use foam rollers recover 24-48 hours faster than those who don’t. The improved recovery means they can train more frequently.
Rolling works best when done within 2 hours after exercise. This timing takes advantage of increased blood flow from the workout.
Reduction of Muscle Soreness
Foam rolling significantly reduces delayed onset muscle soreness (DOMS). This is the stiffness and pain that peaks 24-72 hours after exercise.
Studies show rolling can cut DOMS by up to 50%. The pressure from rolling helps break up inflammation in muscle tissue.
Less inflammation means less pain and stiffness. People can return to normal activities faster.
Rolling stimulates nerve receptors that block pain signals. This creates immediate relief from muscle tension.
The effect can last for several hours after rolling. Soreness reduction works best when:
• Rolling is done immediately after workouts
• Each muscle group gets 1-2 minutes of attention
• Pressure is firm but not painful
People who roll regularly report less overall muscle soreness. Their muscles feel looser and more comfortable throughout the day.
Injury Prevention
Regular foam rolling prevents injuries by addressing muscle imbalances before they cause problems. Tight muscles pull joints out of proper alignment.
This creates stress on other muscles and joints. Rolling helps maintain balanced muscle length and tension.
Balanced muscles work together properly during movement. This reduces stress on joints and connective tissue.
Common injuries prevented by foam rolling:
• IT band syndrome
• Plantar fasciitis
• Lower back pain
The technique also improves body awareness. People become more tuned in to areas of tightness.
They can address problems before they become injuries. Foam rolling works best as part of a complete injury prevention program.
Combined with proper warm-ups and strength training, rolling keeps the body healthy and functional.
Foam Rolling Techniques and Best Practices
Effective foam rolling requires proper form, timing, and avoiding common errors that can reduce benefits or cause discomfort. The right technique involves slow, controlled movements with appropriate pressure, while frequency depends on individual needs and activity levels.
Proper Foam Rolling Technique
The foundation of effective foam rolling starts with correct body positioning. Users should maintain stable support using their hands or opposite leg while rolling.
Pressure and Speed Control
Apply moderate pressure that feels uncomfortable but not painful. A scale of 6-7 out of 10 works best for most people.
Roll slowly at about one inch per second. Quick movements reduce effectiveness and can cause muscle guarding.
Target Area Focus
Spend 30-60 seconds on each muscle group. Focus on tight spots by pausing for 10-15 seconds when finding tender areas.
Body Mechanics
-
Keep the core engaged for stability
-
Breathe normally throughout the process
-
Use body weight to control pressure intensity
-
Roll in one direction, then return
A corrective exercise specialist often recommends combining foam rolling with dynamic stretching for better results. This combination helps prepare muscles for movement and improves overall flexibility.
Common Mistakes to Avoid
Rolling too fast prevents muscles from adapting and releasing tension. Many people rush through the process, missing the therapeutic benefits.
Excessive Pressure
Applying too much pressure causes muscles to tighten defensively. This defeats the purpose of self-myofascial release.
Wrong Areas to Roll
Never roll directly over joints, bones, or the lower back. These areas can be injured easily with improper technique.
Duration Errors
-
Rolling one spot for over two minutes can cause bruising
-
Skipping areas that feel tight limits overall effectiveness
-
Not holding pressure on trigger points reduces benefits
Inconsistent Technique
Using different foam rolling techniques randomly prevents developing proper form. Stick to proven methods until they become natural.
Poor timing also reduces benefits. Rolling immediately after intense exercise on already inflamed muscles can increase soreness rather than reduce it.
When and How Often to Foam Roll
Most people benefit from foam rolling 3-4 times per week. Daily rolling works for athletes or those with chronic tightness.
Pre-Workout Timing
Light foam rolling before exercise acts like dynamic stretching. Spend 5-10 minutes on major muscle groups you’ll use.
This helps improve blood flow and prepares muscles for activity. Post-Workout Recovery
Rolling 2-6 hours after exercise provides the best recovery benefits. Muscles have cooled down but haven’t fully tightened.
Rest Day Maintenance
Use foam rolling on rest days to maintain flexibility and address problem areas. This prevents tightness from building up.
Session Duration Guidelines
-
Beginners: 10-15 minutes total
-
Experienced users: 15-20 minutes
-
Problem areas: Extra 5-10 minutes as needed
Listen to your body’s response. Some people need daily attention while others maintain flexibility with twice-weekly sessions.
Types of Foam Rollers and Tools
Different foam rollers serve specific purposes in myofascial release routines. Density levels and surface textures determine how deeply the roller targets muscle tissue, while alternative tools expand SMR options beyond traditional cylindrical rollers.
Choosing the Right Foam Roller
Size matters when selecting a foam roller. Standard 36-inch rollers work best for large muscle groups like the back and legs.
Shorter 18-inch versions offer better control for targeted areas. Diameter affects stability.
Six-inch diameter rollers provide the most stability for beginners. Four-inch rollers create deeper pressure but require better balance.
Athletes should consider their experience level. Beginners benefit from longer, wider rollers that distribute pressure evenly.
Advanced users can handle smaller rollers that concentrate force on specific trigger points. Portability plays a role for travelers.
Hollow rollers weigh less but may lack durability. Solid foam construction lasts longer for home gyms.
Foam Roller Densities and Textures
Soft density rollers suit beginners and sensitive areas. They compress easily under body weight.
These work well for warming up muscles before exercise. Medium density offers the best balance for most users.
They provide enough pressure for effective myofascial release without excessive discomfort. Firm rollers target deep muscle knots.
Experienced users prefer these for intense SMR sessions. They maintain their shape longer than softer options.
Smooth surfaces distribute pressure evenly across muscle groups. Textured rollers feature ridges, bumps, or knobs that mimic massage therapist techniques.
These target specific trigger points more effectively than smooth versions.
Alternative Myofascial Release Tools
Massage balls reach areas foam rollers cannot access. They work well for feet, shoulders, and trigger points between the shoulder blades.
Massage sticks allow users to control pressure with their hands. They target calves and IT bands effectively without getting on the floor.
Vibrating foam rollers combine traditional SMR with vibration therapy. The vibration may help muscles relax faster during treatment sessions.
• Lacrosse balls – Firm pressure for small trigger points
• Peanut balls – Protect the spine while targeting back muscles
• Roller balls – Combine rolling motion with pinpoint pressure
Essential Foam Roller Exercises
These proven foam rolling techniques target major muscle groups to improve joint range of motion and address muscle imbalances. Each exercise focuses on specific areas that commonly develop tightness from daily activities and exercise.
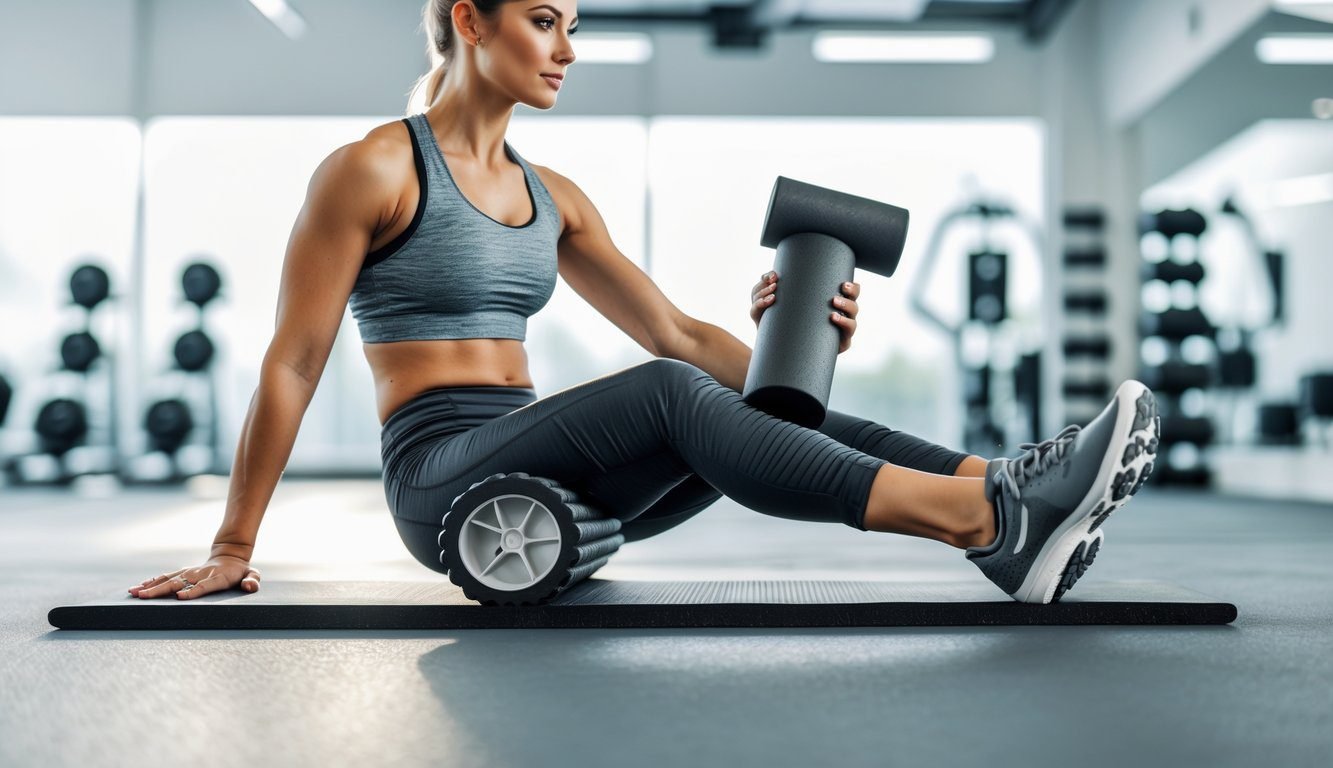
Lower Body Foam Rolling Exercises
The quadriceps roll forms the foundation of lower body foam rolling techniques. Place the foam roller under the front of the thighs and roll from hip to knee.
This exercise improves muscle length in the quads and enhances knee mobility. IT band rolling targets the outer thigh area.
Lie on your side with the roller positioned under the hip. Roll slowly down to just above the knee while supporting body weight with the opposite leg.
For hamstring relief, sit with legs extended and the roller under the back of the thighs. Lift the hips slightly and roll between the glutes and knees.
This technique addresses muscle imbalances between the front and back of the legs. Key lower body exercises:
• Calf roll – targets tight lower legs from walking and running
• Glute roll – releases hip tension and improves mobility
• IT band roll – reduces knee pain and outer thigh tightness
Upper Body Foam Rolling Techniques
Upper back rolling addresses tension from poor posture and desk work. Lie with the roller under the shoulder blades and gently roll between the shoulders and mid-back.
This technique improves joint range of motion in the thoracic spine. The lat roll targets the large muscles along the sides of the back.
Position the roller under the armpit area while lying on your side. Roll slowly to release tightness that limits shoulder movement.
Neck release provides relief from headaches and stiffness. Place the roller under the base of the skull and gently rock the head side to side.
This gentle technique helps restore muscle length in neck muscles. Foam rolling the upper body requires lighter pressure than lower body work.
These areas contain more sensitive tissues that respond better to gentle, sustained pressure.
Core and Hip Mobility Exercises
Hip flexor rolling addresses tightness from prolonged sitting. Lie face down with the roller positioned under one hip.
Focus on the front of the hip area where these muscles attach. Adductor rolling targets the inner thigh muscles.
Lie face down with one leg extended to the side and the roller under the inner thigh. This technique improves hip mobility and reduces groin tension.
The piriformis roll helps with deep hip muscle tension. Sit on the roller and cross one ankle over the opposite knee.
Lean toward the crossed leg to apply pressure to the small hip muscles. Core stability exercises can incorporate the foam roller as a balance challenge.
These movements improve muscle length while strengthening stabilizing muscles throughout the torso and hips. Helpful: Are Resistance Bands Good for Recovery? Benefits & How to Use
Physiological Effects and Mechanisms
Foam rolling creates important changes in the body through mechanical pressure and tissue manipulation. Research shows it primarily affects blood circulation, reduces muscle tension through nervous system responses, and helps restore normal tissue flexibility.
Blood Flow and Circulation
Foam rolling significantly increases blood flow to targeted muscle areas. The rolling pressure compresses blood vessels, then releases them.
This creates a pumping action that pushes fresh blood into the tissues. Studies show foam rolling can increase tissue perfusion by up to 15% immediately after use.
The mechanical pressure helps move blood through smaller vessels that might be restricted. Key circulation benefits include enhanced oxygen delivery, faster removal of metabolic waste, and improved nutrient transport to tissues.
The increased blood flow typically lasts 10-30 minutes after foam rolling. This makes it useful both before exercise to prepare muscles and after exercise to speed recovery.
Athletes often notice skin warming in rolled areas. This visible sign confirms improved circulation is occurring beneath the surface.
Muscle Relaxation and Tension Release
Foam rolling reduces muscle tension through neurological pathways rather than physical tissue changes. The pressure stimulates nerve receptors that signal the nervous system to decrease muscle activation.
This process works through tone reduction. The brain receives signals from pressure receptors and responds by lowering the electrical activity in tense muscles.
Research shows foam rolling can reduce muscle stiffness by 20-30% immediately after treatment. Neurological relaxation occurs through activation of pressure-sensitive nerve endings and reduced motor neuron excitability.
The relaxation effects typically last 1-2 hours after foam rolling. Regular use may help retrain the nervous system to maintain lower baseline tension levels.
Breaking Down Muscle Adhesions
Traditional beliefs about foam rolling “breaking up adhesions” require clarification. Modern research suggests the benefits come from restoring normal tissue movement rather than physically breaking structures.
Foam rolling improves fascial tissue flexibility by increasing its water content and reducing stiffness. The mechanical pressure helps restore the sliding properties between tissue layers.
Tissue changes include increased fascial hydration, improved tissue elasticity, and better layer-to-layer movement. The pressure from foam rolling creates temporary changes in tissue properties.
Regular use helps maintain these improvements over time. Most perceived “knots” or tight spots respond well to consistent foam rolling.
The technique helps restore normal tissue function without causing damage to healthy structures.
Integrating Foam Rolling Into Your Routine
Successful foam rolling integration requires strategic timing and proper technique combinations. The most effective approach pairs foam rolling with dynamic stretching for mobility gains and uses corrective exercise principles for targeted muscle release.
Following safety guidelines helps prevent injury. Combining foam rolling with stretching can maximize your results.
Combining Foam Rolling with Stretching
Foam rolling works best when combined with stretching exercises. Rolling before dynamic stretching helps prepare muscles for movement.
The fascia becomes more pliable after foam rolling, allowing deeper stretches. A pre-workout sequence might include five minutes of foam rolling target areas followed by five minutes of dynamic stretching.
Athletes should foam roll tight areas first, then perform dynamic stretches like leg swings or arm circles. This combination improves flexibility more than either technique alone.
Post-workout integration reverses the order. Static stretching followed by gentle foam rolling helps muscles recover.
The pressure from rolling increases blood flow to stretched tissues. A recovery sequence could include ten minutes of static stretching and five minutes of light foam rolling.
Research shows this combination reduces muscle soreness compared to stretching alone. The key is maintaining consistent pressure during rolling while focusing on breathing.
Corrective Exercise Applications
Foam rolling serves as an effective corrective exercise tool for muscle imbalances. Physical therapists use specific rolling patterns to address movement dysfunction.
Target areas include overactive muscles that restrict proper movement patterns. Common corrective applications focus on IT band rolling for knee tracking issues, thoracic spine rolling for rounded shoulders, and hip flexor rolling for anterior pelvic tilt.
Rolling should target overactive muscles before strengthening weak ones. Spend 60-90 seconds on problem areas.
Athletes with movement restrictions benefit from daily rolling of compensatory muscles. Office workers often need thoracic spine and hip flexor work.
Runners typically require IT band and calf attention. The timing matters for corrective work.
Rolling overactive muscles before exercise prevents compensation patterns. This preparation allows proper muscle activation during strength training.
Precautions and Contraindications
Certain conditions require modified or avoided foam rolling approaches. People with blood clots, severe varicose veins, or acute injuries should consult healthcare providers first.
Rolling over inflamed tissues can worsen conditions. Avoid rolling over joints and bones directly, areas with open wounds, or regions with severe bruising.
Injury prevention requires proper technique and gradual pressure increases. Beginners should start with softer rollers and shorter sessions.
Pain levels above 7 out of 10 indicate excessive pressure. Pregnant women need modified positions and lighter pressure.
Those with osteoporosis should use minimal force to prevent fractures. Cancer patients require medical clearance before starting any rolling routine.
Timing restrictions include avoiding intense rolling immediately before competition. Heavy pressure can temporarily reduce muscle power output.
Light rolling for warm-up purposes remains beneficial for most people.
Common Myths and Misconceptions
Many people believe foam rolling works for every muscle group and can replace other recovery methods. These misconceptions often lead to improper use and unrealistic expectations about what foam rolling can achieve.
Foam Rolling for All Muscle Groups
Foam rolling is not safe or effective for every part of the body. Many people mistakenly believe they can roll any tight area they feel.
Rolling directly over bones, joints, or the spine can cause injury. The lower back, neck, and IT band are common areas where people make mistakes.
Safe target areas include calves, hamstrings, quadriceps, glutes, upper back muscles, shoulders, and lats. Some muscle groups respond better to other recovery methods.
Deep stabilizing muscles around the spine need different approaches than foam rolling. People should avoid rolling areas with acute injuries, bruises, or inflammation.
Rolling inflamed tissue can make delayed onset muscle soreness worse instead of better.
Limits of Foam Rolling
Foam rolling cannot break up scar tissue or permanently change muscle length. This belief leads people to roll too aggressively, thinking more pressure creates lasting changes.
The temporary relief people feel comes from nervous system changes, not structural muscle changes. Blood flow increases during rolling, but returns to normal quickly afterward.
Foam rolling reduces feelings of muscle tightness temporarily and increases short-term flexibility. It may help with muscle soreness perception.
Foam rolling cannot replace proper warm-ups, str Learn more: Best Recovery Tools for Home: Your Guide to Fast, Effective Recoveryetching, or strength training. It works best as one part of a complete recovery routine.
The effects typically last 10-20 minutes after rolling.
Misunderstood Techniques
Pain during foam rolling does not mean it is working better. Many people believe they must endure significant discomfort to get benefits.
Rolling should feel like moderate pressure, similar to a firm massage. Sharp pain or extreme discomfort signals someone is pressing too hard or targeting the wrong area.
Proper technique involves slow, controlled movements and moderate pressure that feels uncomfortable but tolerable. Spend 30-60 seconds per muscle group.
Rolling too fast reduces effectiveness and can cause bruising. Quick back-and-forth movements do not allow muscles time to respond to the pressure.
Some people roll immediately after intense workouts when muscles are already irritated. This timing can increase muscle soreness rather than reduce it.
Spending too long on one spot can cause tissue damage. Brief, consistent pressure works better than extended rolling sessions.
Frequently Asked Questions
These common questions address proper techniques for targeting specific pain areas, essential safety guidelines, beginner-friendly approaches, and methods to maximize foam rolling benefits for different muscle groups.
What are the proper foam rolling techniques for alleviating lower back pain?
Foam rolling the lower back directly is not recommended. The spine needs support, and direct pressure can cause injury.
Instead, focus on surrounding muscles that affect lower back tension. Roll the glutes, hip flexors, and upper back muscles.
For glutes, sit on the roller and lean to one side. Roll slowly from the hip bone to the top of the thigh.
Target hip flexors by lying face down with the roller under the front of the hip. Roll gently from the hip to just above the knee.
Roll the upper back by lying down with the roller between the shoulder blades. Keep knees bent and feet flat on the floor.
Can foam rolling effectively relieve knee pain, and what’s the best approach?
Never roll directly on the knee joint. This can damage ligaments and cartilage.
Focus on muscles around the knee instead. Roll the quadriceps, hamstrings, calves, and IT band.
For quadriceps, lie face down with the roller under the front thigh. Roll from just above the knee to the hip.
Target hamstrings by sitting with the roller under the back of the thigh. Use hands for support and roll slowly.
Roll calves by sitting with legs extended and the roller under the lower leg. Cross one leg over the other for more pressure.
The IT band runs along the outer thigh. Lie on your side and roll from the hip to just above the knee.
What are the essential do’s and don’ts when practicing foam rolling?
Do roll slowly at about one inch per second. Hold pressure on tender spots for 30-60 seconds.
Breathe deeply and stay relaxed. Never roll over joints, bones, or the lower back.
Avoid rolling if you have injuries or blood clots. Don’t roll too fast or with excessive pressure.
Start with light pressure and gradually increase as muscles adapt. Pain should feel like a 6-8 on a scale of 1-10.
Stop immediately if you feel sharp pain or numbness. These are signs of potential injury.
Roll both sides of the body equally to maintain balance. Spend equal time on each muscle group.
How can beginners effectively start using foam rolling in their fitness routine?
Begin with a soft foam roller to avoid excessive discomfort. Harder rollers can be introduced later as tolerance builds.
Start with basic rolling motions along the length of muscles. Focus on major muscle groups like calves, hamstrings, and quadriceps.
Roll for 1-2 minutes per muscle group initially. This allows the body to adapt to the pressure and movement.
Use foam rolling before workouts to prepare muscles and after workouts to aid recovery. This timing maximizes benefits.
Practice 3-4 times per week for best results. Consistency helps reduce muscle tightness over time.
Watch instructional videos or work with a trainer initially. Proper form prevents injury and improves effectiveness.
What are the best foam rolling exercises for targeting leg and glute muscles?
For quadriceps, lie face down with the roller under the front thigh. Support weight on forearms and roll from knee to hip.
Target hamstrings by sitting with the roller under the back thigh. Place hands behind you for support and roll slowly.
Roll calves by sitting with legs extended and the roller under the lower leg. Lift hips slightly and roll from ankle to knee.
For glutes, sit on the roller and lean to one side. Cross the ankle over the opposite knee and roll in small circles.
Target the IT band by lying on your side with the roller under the outer thigh. Support weight on forearm and roll from hip to knee.
Work the inner thigh by lying face down with one leg extended to the side over the roller. Roll gently along the inner thigh.
How can I ensure that I’m using my foam roller correctly for optimal benefits?
Follow the four-step process: search, destroy, mobilize, and flush. This method helps you get the most out of each foam rolling session.
Search by rolling slowly along the muscle to identify tender spots. Move with intention to prepare the muscle and increase circulation.
Destroy involves holding steady pressure on 2-3 tender spots for 30-60 seconds each. These areas should feel uncomfortable, but not painful.
Mobilize by adding small cross-friction movements or gentle joint motions while maintaining pressure. This technique helps break up adhesions more effectively.
Flush with gentle rolling motions along the entire length of the muscle. This encourages removal of waste products and brings in fresh nutrients.
Finish with static stretching to further boost flexibility. Combining these steps supports better muscle length and overall function.
Related Articles
Follow up with full-body mobility using Improve Flexibility and Mobility.
Use foam rolling before stretching with Stretching for Beginners.
Enhance post-training recovery with Post Workout Recovery Routine.
Boost healing even more with Mobility Training for Recovery.